The first thing I discovered when I started researching how to prepare my memorial puzzle for framing was the amount of conflicting, and sometimes terrible, advice the internet had to offer.
Why did it all have to be so hard to find? Why couldn’t there just be one post with clear, straightforward instructions? Who even knows? I resolved then and there to write that post once I worked out what I was doing.
So, I drilled down, made notes on the approaches that seemed reasonable, and sought out some experts to guide me on the process.
On their advice, and a fair degree of holding my breath and hoping things worked as I had been told they would, this is the process I followed.
Materials:
- A good solid board to mount the puzzle on. I used 2mm strawboard which I bought for about $5 at my favourite office and art supply shop. It is strong and flexible, but won’t sag or warp. It is also slightly textured, which makes it less likely that things will slide around on it.
- A rolling pin.
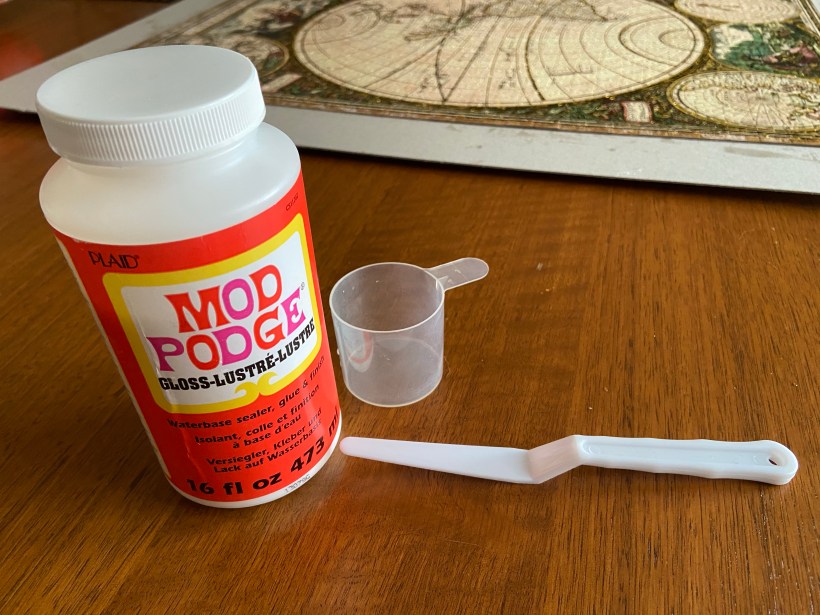
- Mod Podge sealant glue. I didn’t know how much I would need, and I knew my puzzle was big, so I bought the 16oz bottle. It turned out that I only used about 2 oz of that. It’s handy stuff, so that’s okay.
- A small cup to pour your glue from. This allows you to have more control over how much and where you are pouring. I used an old measure from laundry detergent.
- A plastic spatula with a straight edge for spreading the glue. Some people use a credit or ATM card, but the handle on the spatula moves your hand back from the action and allows you to see right away what you’re doing.
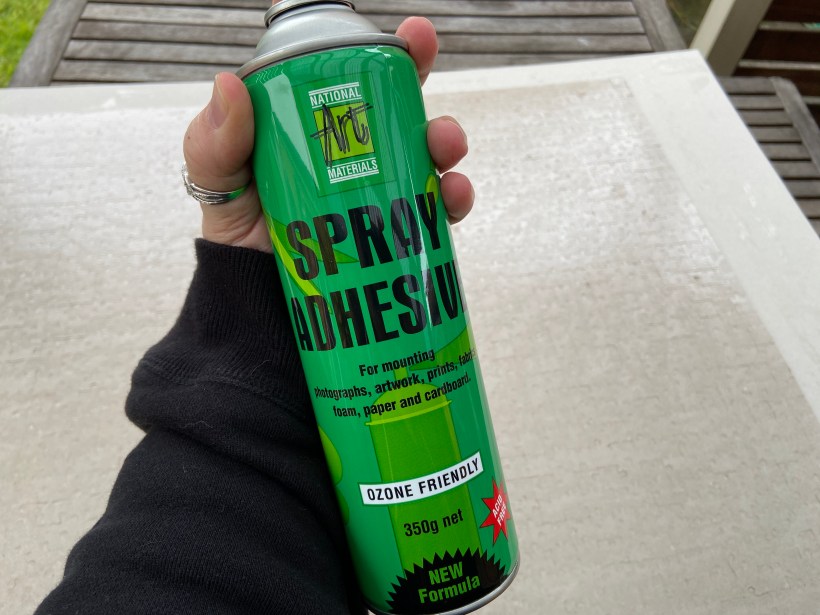
- Strong spray adhesive.
Practice Makes Perfect.
Before you go anywhere near the puzzle you want to frame with your glue, practice an old puzzle so that you develop your skills and your confidence.
A friend who runs a puzzle exchange gave me an old one that nobody was interested in. Goodwill and charity shops often have loads of them for a dollar or two each.
I didn’t even make the whole puzzle. I simply completed a couple of sections to practice on.
My first attempt was not bad, but I quickly discovered how easy it was to use too much glue. It spread easily, but pooled around the edges. This gave me a better idea of how much to pour on in the first instance, and how to spread it evenly. So, the edges were messy with glue, but the effect on the puzzle was good.
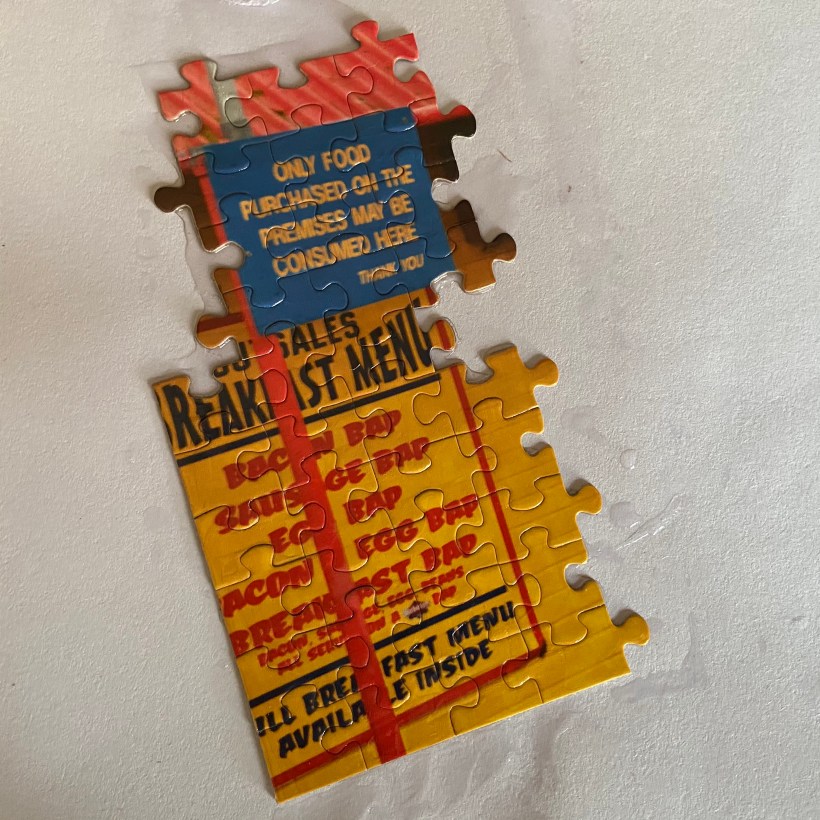
The first attempt involved too much glue. 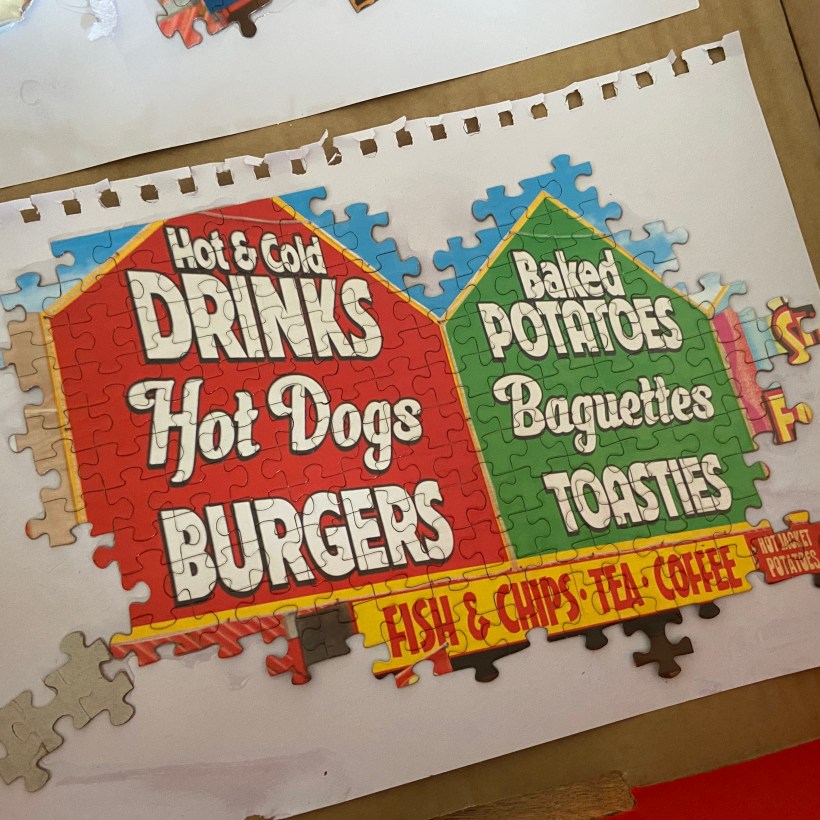
The second attempt was much better.
My second attempt was much more even. It came up really well.
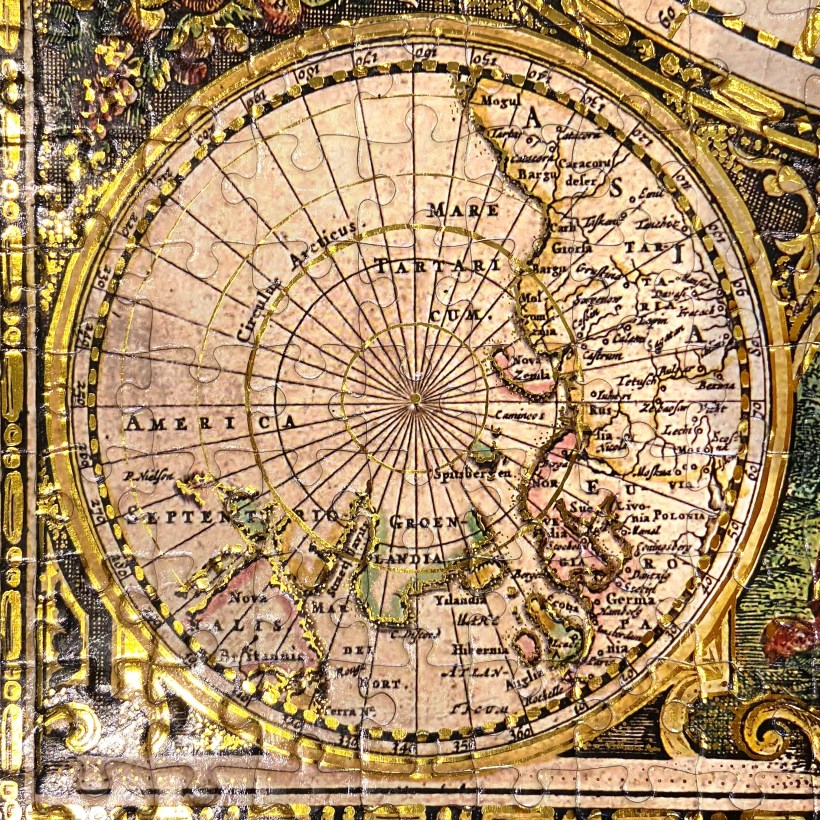
I braced myself, got my gear ready, and turned to my beautiful puzzle. It was time.
Gluing The Puzzle
- Use your rolling pin to ensure the puzzle is completely flat and the pieces are evenly joined.
- Pour some glue from the big bottle into the small cup. You can always add more if you need it.
- Don’t panic that the glue is white. It WILL dry clear and glossy.
- Pour the glue in a thin, even S shape line over your puzzle. Spread it thinly and evenly over the surface with the spatula.
Make sure all the joins between the pieces are filled with glue. Make sure you don’t have globs or spots of glue anywhere. The aim is to achieve an even coating over the surface.
Mine was a very large puzzle, so I did it in three sections. When one section was done, I poured more glue and kept going. - Allow it to dry for several hours. It will feel dry to touch after about 20 minutes, but it’s important to allow the glue in the joins between the pieces to cure and dry completely before you go any further.
- Turn your puzzle over very gently. It may have been glued, but it’s important to be as careful as you can with it at every step of all times, as it is still fragile.
- Repeat the gluing process on the back of your puzzle. This will both strengthen the bond between the pieces and seal the surface.
- Wait at least 12 hours to ensure that everything is completely dry.
- Cover the back of your puzzle evenly with spray adhesive, then cover the surface of your mounting board.
Wait a few minutes for the surface to become tacky to touch. then flip your puzzle very carefully onto the board.
Do this outside or in a well-ventilated area, and wear a mask. Remember, you don’t want spray adhesive all over your furniture OR in your lungs! - Use a rolling pin to ensure the entire surface of your puzzle is pressed onto the board.
- Leave it alone to set and dry. Your puzzle will be ready for framing tomorrow.
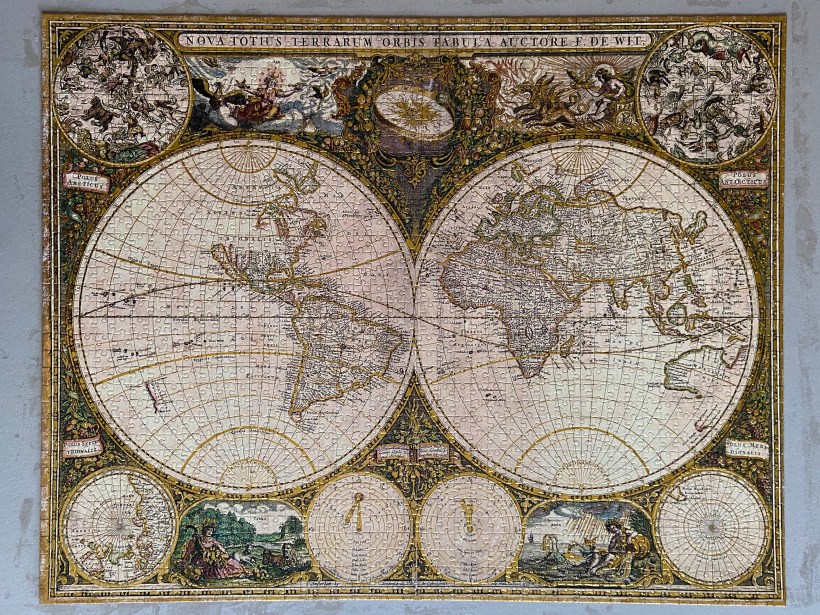
The Result:
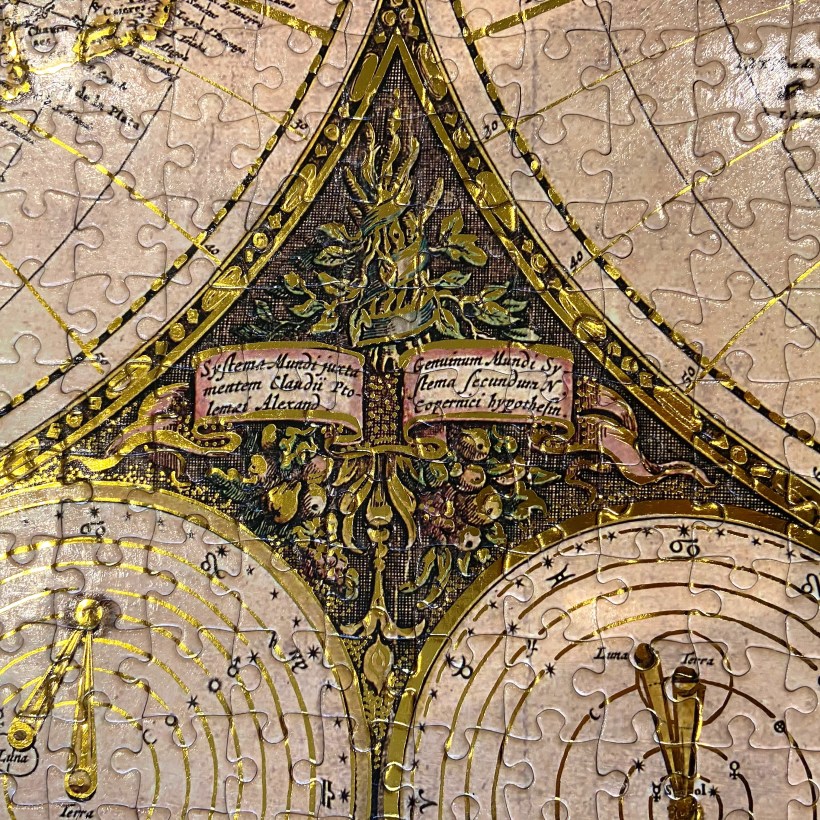
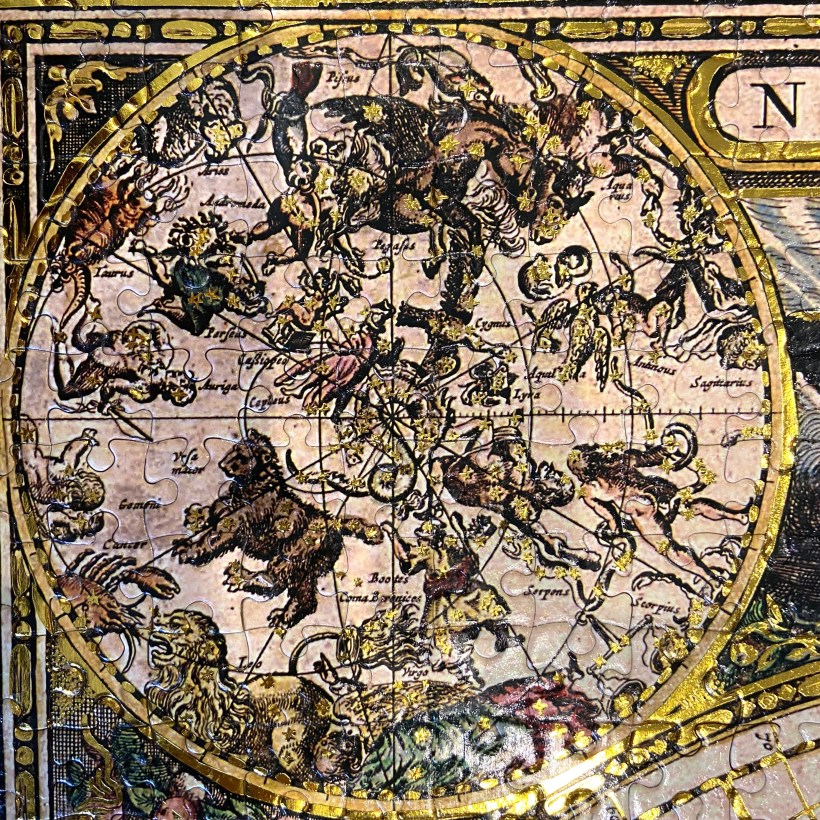
I’m really pleased with how my puzzle turned out. The finish is beautiful, and the gloss of the glue really highlights the gold highlights and subtle colours in the puzzle.
Because my puzzle is a very special one, and because it is too big for any of the commercially available frames I have seen, I’m going to take it to a professional picture framer.