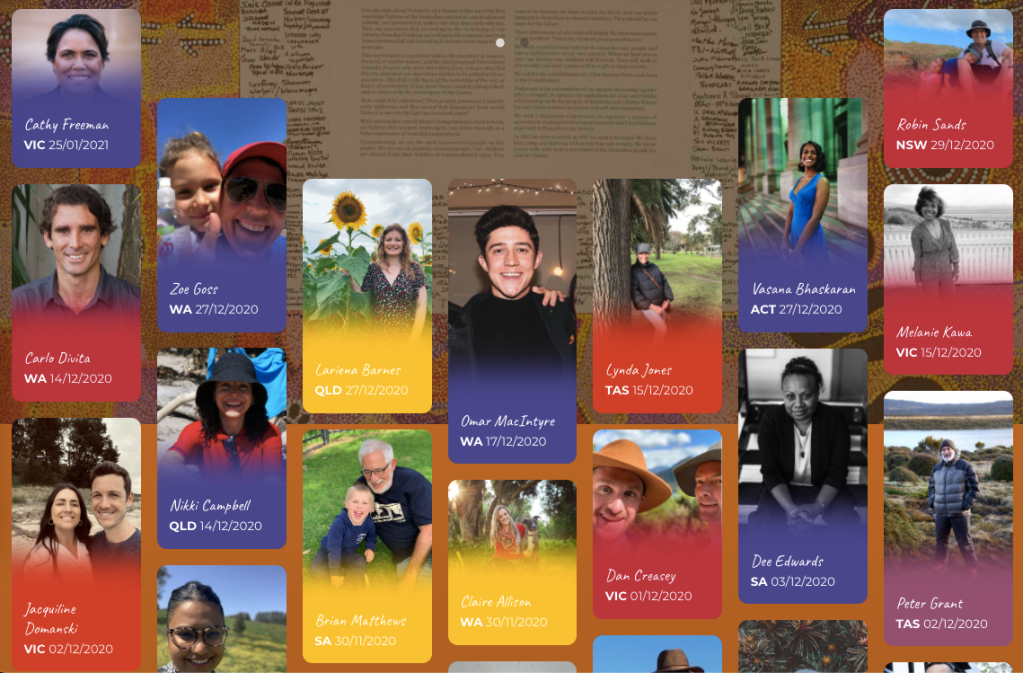
I make this public declaration in addition to signing my name on the signature wall:
I stand with the First Nations people of Australia as an ally and an advocate for voice, for Treaty, and for truth.
I will continue to teach Australian history with honesty and with empathy for the experiences of the Indigenous people. I will encourage others to listen and understand .
I will continue to seek an end to racism, division and inequality.
I will continue to work for reconciliation, friendship, and harmony. I will continue to speak for increased representation and constitutional recognition.
This tattoo honours my late father, my family, and my unique identity within it. My family’s surname is Dutch: Groenenboom, which translates to ‘green tree’.
I am thankful to be starting the new year by doing something to deeply meaningful. It is a positive way of acknowledging those who have passed, including my dad and my beloved cousin six months ago, those who remain and are still flourishing, and my connection to them all.
I spent months choosing the tree design, as there are myriad options available and many are gorgeous. I chose this one because it symbolises strength, beauty and grace. The maple leaf represents me, obviously— unique among the other leaves, but strongly connected and coming from the same source.
I am so proud that this symbol is now part of me.
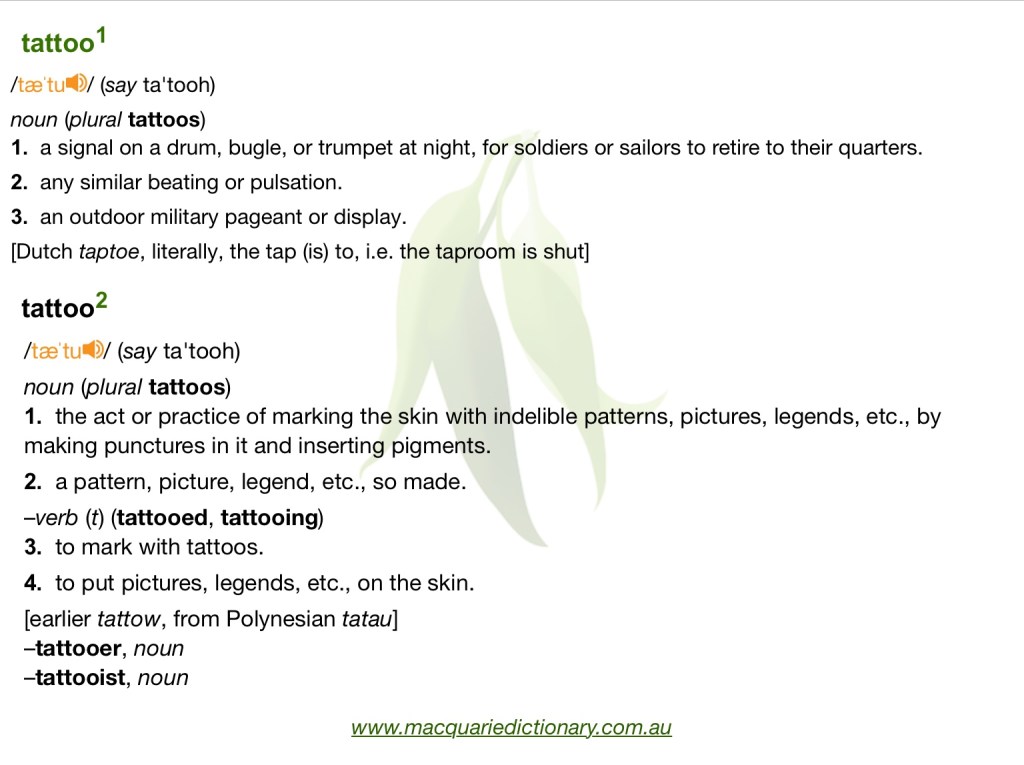
The word tattoo is interesting because the one word has two completely different sets of meanings that have come from entirely distinct sources.
That makes it a homophone, a homograph, and a homonym all at the same time: as it is pronounced and spelt identically for each of its various meanings.
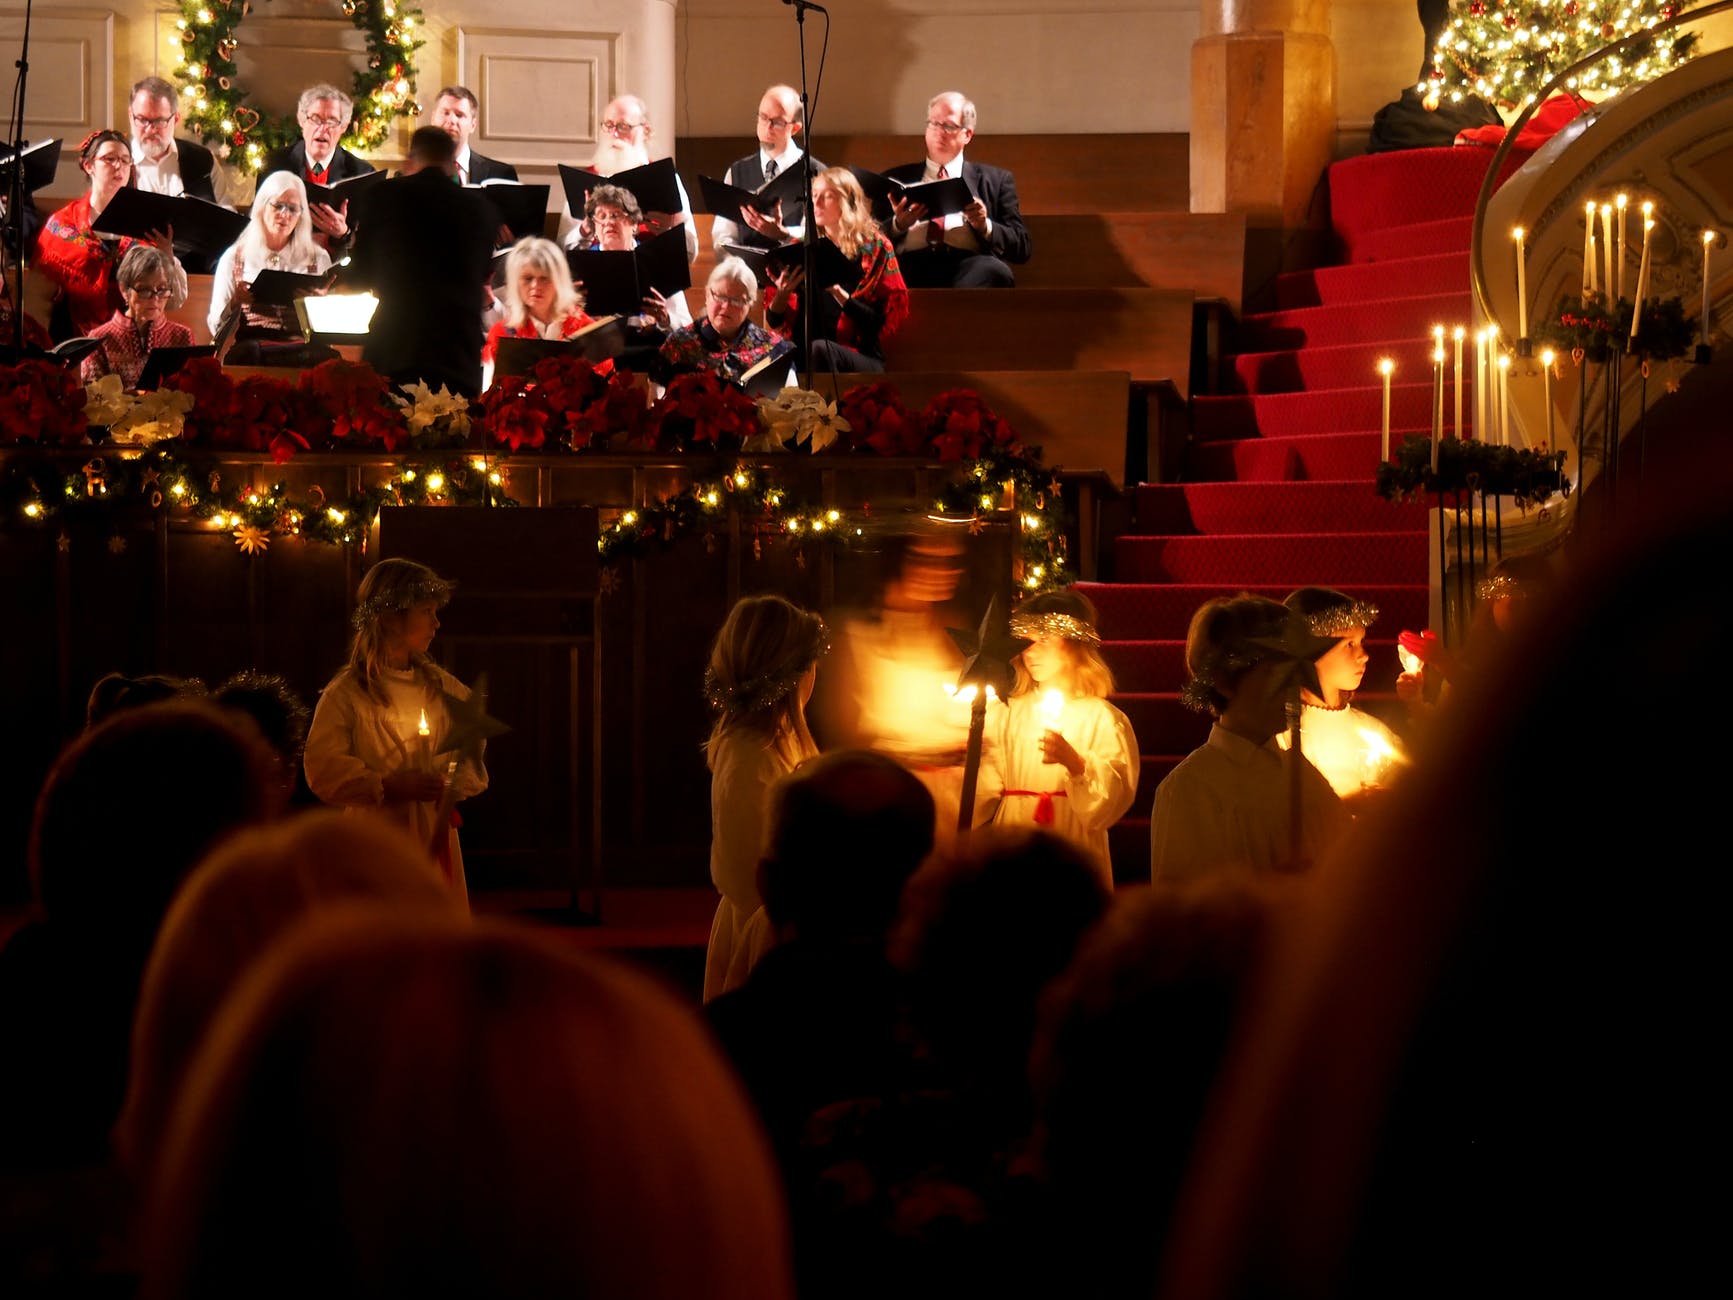
I recently heard someone insisting that there was a difference between Christmas carols, which were all about baby Jesus and the angels, the star and the wise men, and Christmas songs, such as Jingle Bells or Rudolph the Red Nosed Reindeer.
It sounded like a feasible explanation, and the guy put up what seemed like a good argument– mostly due to his confidence and the underlying implication that he knew more about it than anyone else. (See malapert and ultracrepidarian.)
That’s what triggered me to research the question. I confess it was more out of my desire to possibly prove him wrong than to actually know the answer that I took out my phone and searched Etymoline for ‘carol’. To my delight, he was wrong! It does seem to be a popular belief, but it’s not consistent with the etymology of the word carol.
Carol is a very old word that dates back to about 1300 in both its noun and verb forms.
At this time, the noun meant both a joyful song and a form of dance in a circle or ring. Both of these meanings probably came from the Old French word carole that referred to that kind of circular dance, which was sometimes accompanied by singers. The origins of the word before that are unclear, but it certainly does paint a festive picture.
It wasn’t until about 1500 AD – two centuries later – that the word had also come to refer to a hymn or song of joy sung at Christmas. Thus, the religious connotations of the word came much later than the secular meaning.
The verb form to carol first meant to dance in a ring or circular formation. The sense of the word that meant to sing with joy or celebration had developed by the late 14th century.
The verb carol did not mean to sing Christmas songs, often moving from place to place to do so, until the late 1800s. It does seem, though, that the practice of carolling is believed to be a much older tradition that was outlawed in Britain, along with the celebration of Christmas itself, by the Puritans who governed in the mid-1600s.
So, Christmas songs are called carols because of their festive and joyful nature. Given that a. the word was originally far more specific about the type of dance than the type of songs being sung, other than that they were joyful, and b. Jingle Bells and Rudolph are as festive in their own ways as Hark The Herald Angels Sing or Joy to the World, there is no reason to classify them differently. They’re all Christmas carols, and that’s that.
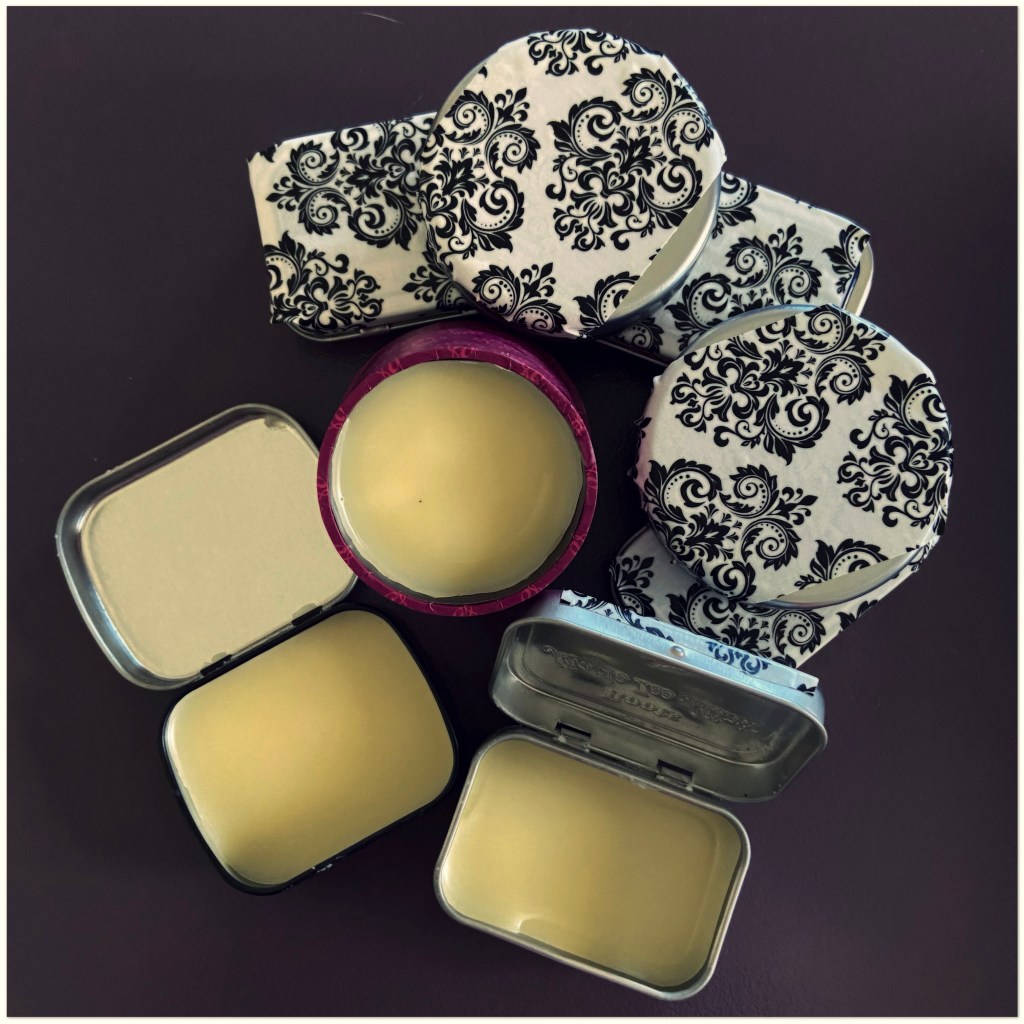
One thing I have noticed with the wearing of a mask every time I go out is how dry my lips get!
I don’t know if it’s the mask that does that, or the fact I’m not wearing lipstick as much as I used to.
So, I decided that the term break was the perfect time to try something new: making my own lip balm! I’m going to brand it ‘Kiss My Mask’ because saying that makes me smile.
This all-natural lip balm recipe is easy and quick, and the end product is quite lovely. It absorbs quickly, is not greasy, and there’s no colour to mess up my masks.
The first thing I discovered when I started researching how to prepare my memorial puzzle for framing was the amount of conflicting, and sometimes terrible, advice the internet had to offer.
Why did it all have to be so hard to find? Why couldn’t there just be one post with clear, straightforward instructions? Who even knows? I resolved then and there to write that post once I worked out what I was doing.
So, I drilled down, made notes on the approaches that seemed reasonable, and sought out some experts to guide me on the process.
On their advice, and a fair degree of holding my breath and hoping things worked as I had been told they would, this is the process I followed.
Materials:
A good solid board to mount the puzzle on. I used 2mm strawboard which I bought for about $5 at my favourite office and art supply shop. It is strong and flexible, but won’t sag or warp. It is also slightly textured, which makes it less likely that things will slide around on it.
A rolling pin.
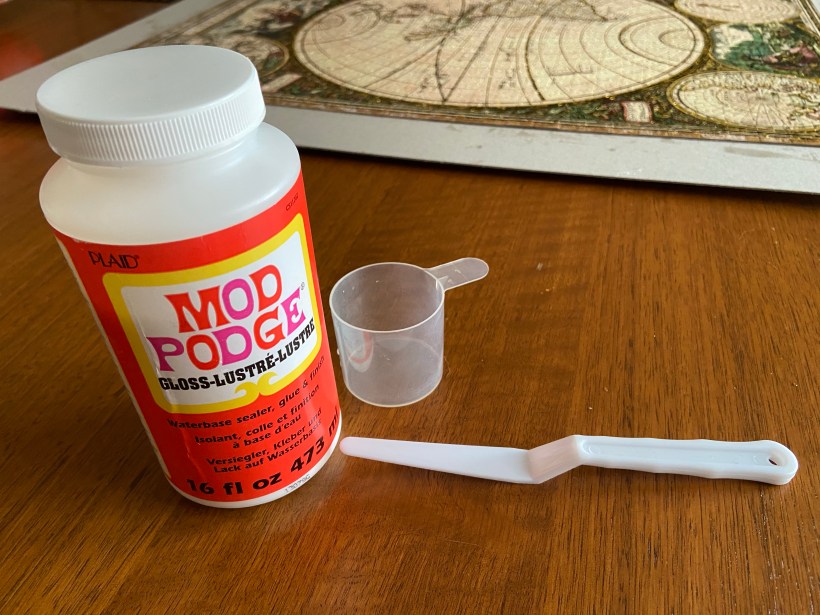
Mod Podge sealant glue. I didn’t know how much I would need, and I knew my puzzle was big, so I bought the 16oz bottle. It turned out that I only used about 2 oz of that. It’s handy stuff, so that’s okay.
A small cup to pour your glue from. This allows you to have more control over how much and where you are pouring. I used an old measure from laundry detergent.
A plastic spatula with a straight edge for spreading the glue. Some people use a credit or ATM card, but the handle on the spatula moves your hand back from the action and allows you to see right away what you’re doing.
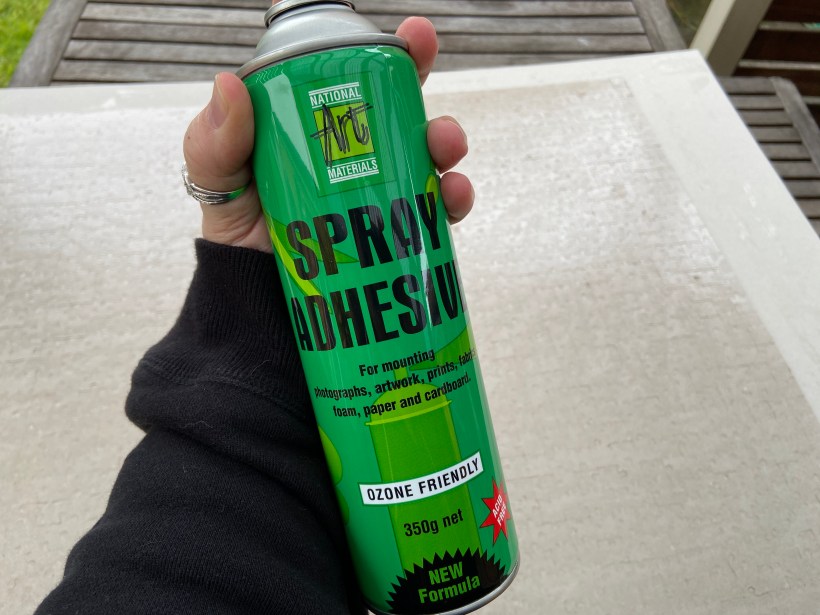
Strong spray adhesive.
Practice Makes Perfect.
Before you go anywhere near the puzzle you want to frame with your glue, practice an old puzzle so that you develop your skills and your confidence.
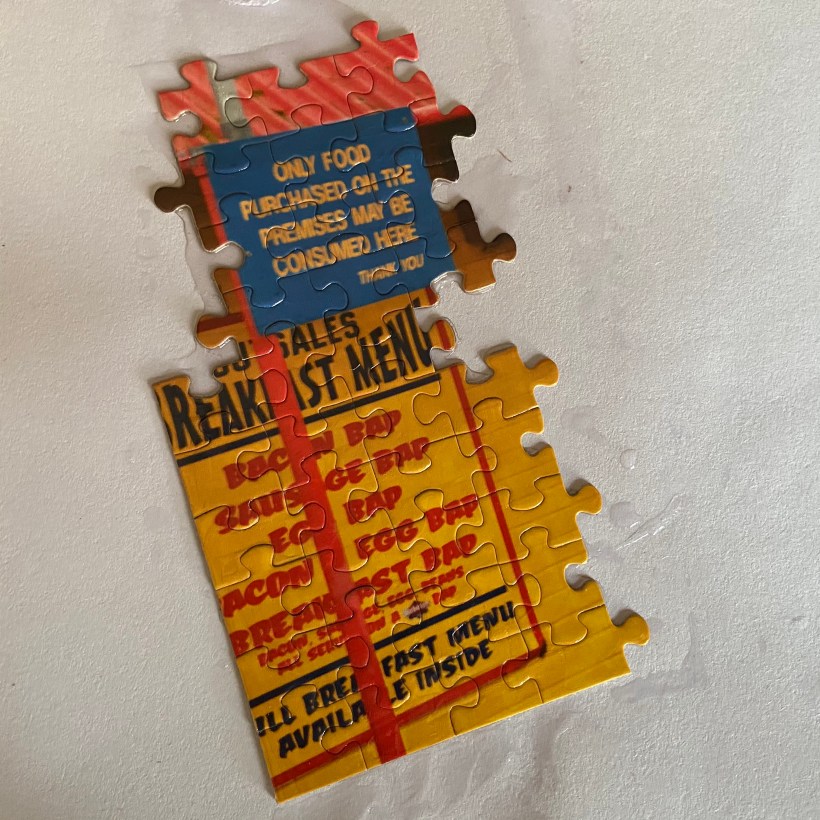
A friend who runs a puzzle exchange gave me an old one that nobody was interested in. Goodwill and charity shops often have loads of them for a dollar or two each. I didn’t even make the whole puzzle. I simply completed a couple of sections to practice on.
My first attempt was not bad, but I quickly discovered how easy it was to use too much glue. It spread easily, but pooled around the edges. This gave me a better idea of how much to pour on in the first instance, and how to spread it evenly. So, the edges were messy with glue, but the effect on the puzzle was good.
The first attempt involved too much glue.
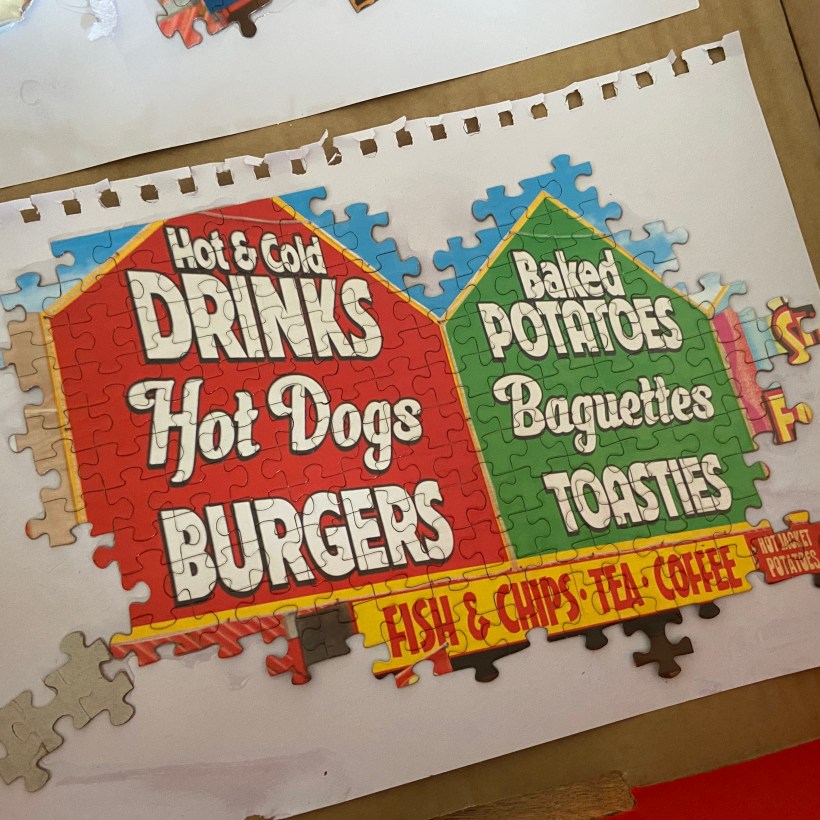
The second attempt was much better.
My second attempt was much more even. It came up really well.
I braced myself, got my gear ready, and turned to my beautiful puzzle. It was time.
Gluing The Puzzle
Use your rolling pin to ensure the puzzle is completely flat and the pieces are evenly joined.
Pour some glue from the big bottle into the small cup. You can always add more if you need it.
Don’t panic that the glue is white. It WILL dry clear and glossy.
Pour the glue in a thin, even S shape line over your puzzle. Spread it thinly and evenly over the surface with the spatula.
Make sure all the joins between the pieces are filled with glue. Make sure you don’t have globs or spots of glue anywhere. The aim is to achieve an even coating over the surface.
Mine was a very large puzzle, so I did it in three sections. When one section was done, I poured more glue and kept going.
Allow it to dry for several hours. It will feel dry to touch after about 20 minutes, but it’s important to allow the glue in the joins between the pieces to cure and dry completely before you go any further.
Turn your puzzle over very gently. It may have been glued, but it’s important to be as careful as you can with it at every step of all times, as it is still fragile.
Repeat the gluing process on the back of your puzzle. This will both strengthen the bond between the pieces and seal the surface.
Wait at least 12 hours to ensure that everything is completely dry.
Cover the back of your puzzle evenly with spray adhesive, then cover the surface of your mounting board.
Wait a few minutes for the surface to become tacky to touch. then flip your puzzle very carefully onto the board.
Do this outside or in a well-ventilated area, and wear a mask. Remember, you don’t want spray adhesive all over your furniture OR in your lungs!
Use a rolling pin to ensure the entire surface of your puzzle is pressed onto the board.
Leave it alone to set and dry. Your puzzle will be ready for framing tomorrow.
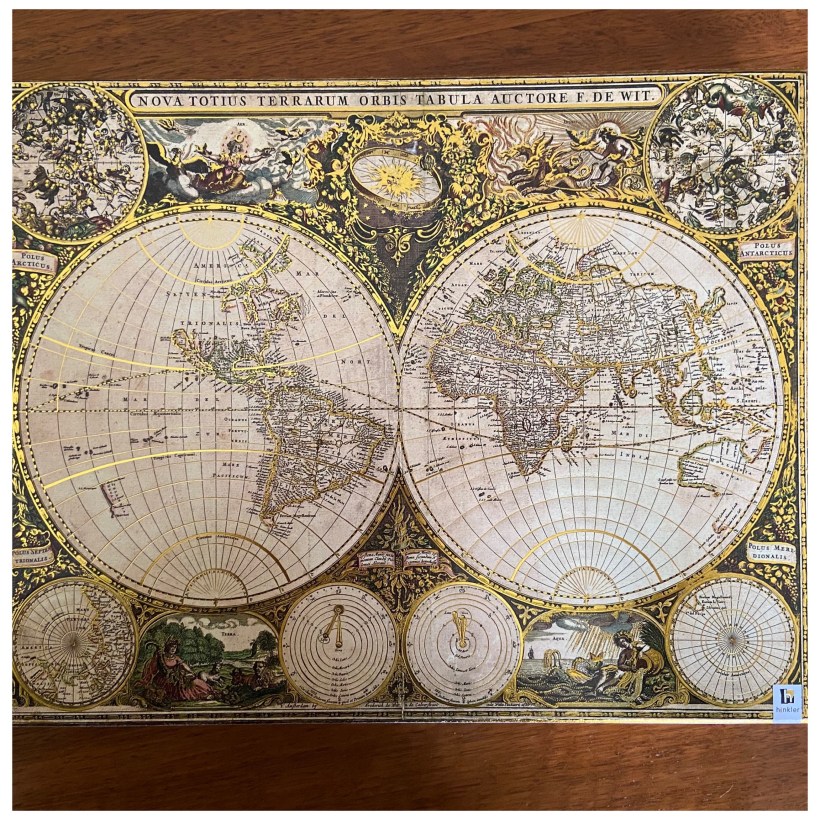
The Result:
I’m really pleased with how my puzzle turned out. The finish is beautiful, and the gloss of the glue really highlights the gold highlights and subtle colours in the puzzle.
Because my puzzle is a very special one, and because it is too big for any of the commercially available frames I have seen, I’m going to take it to a professional picture framer.
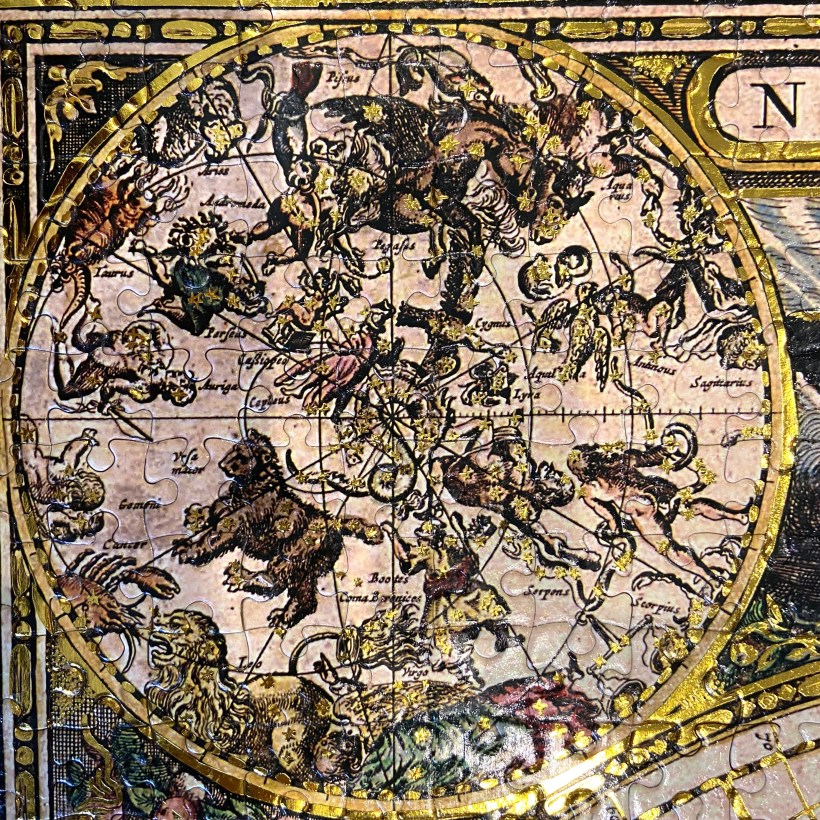
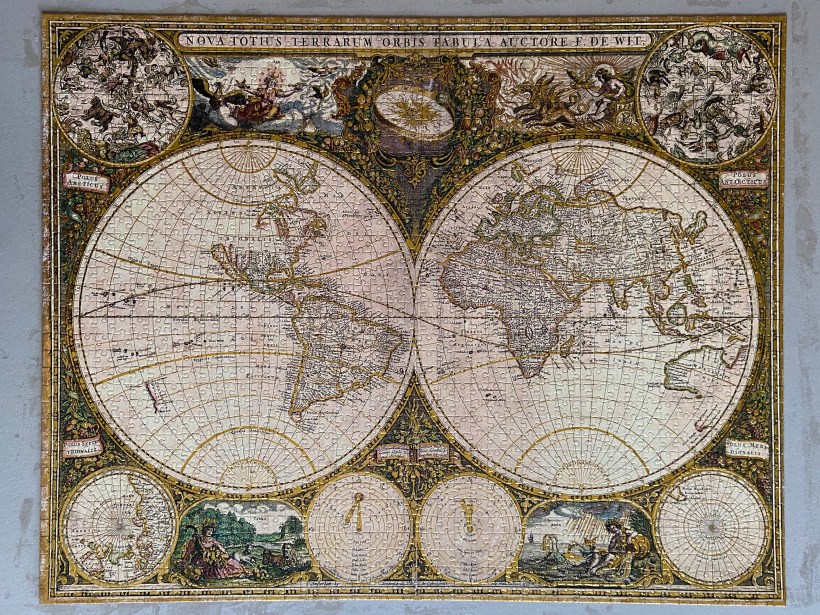
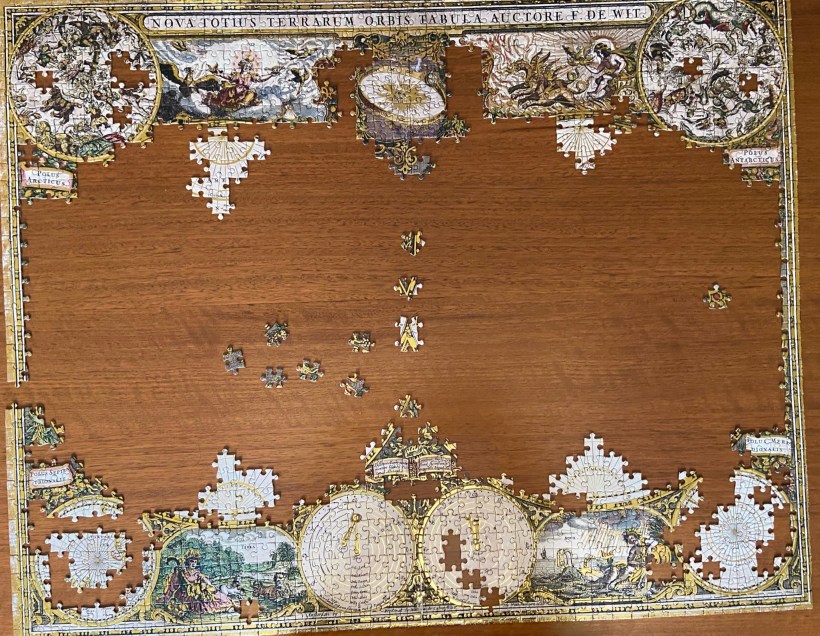
I’ve been working on a beautiful jigsaw puzzle over the past month. I chose it in honour of Helen, because she and I often did puzzles together. In fact, this was the first jigsaw puzzle I’ve done without Helen in probably twenty years. I also chose it for my dad, who would have loved both the map and the fact it was created by a Dutchman.
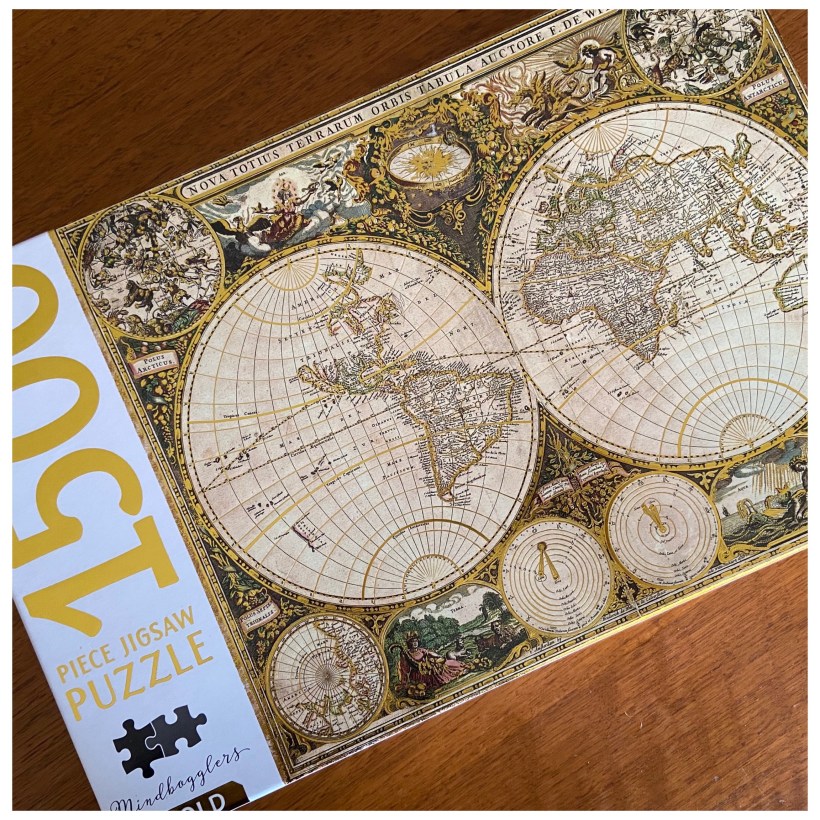
The image is an antique map of the known world, complete with solar systems and representations of the four elements; highlighted with gold embellishments. It was created by F. De Wit in Amsterdam in 1663, and the puzzle was produced by Hinkler Mindbogglers. Boy oh boy, did they get that branding right!
It really was a mind boggling challenge. Intricate lines, many pieces that still looked almost the same, and corner and edge pieces that were almost identical to one another made putting this puzzle together quite the labour of love.
Mind boggling, to say the least!
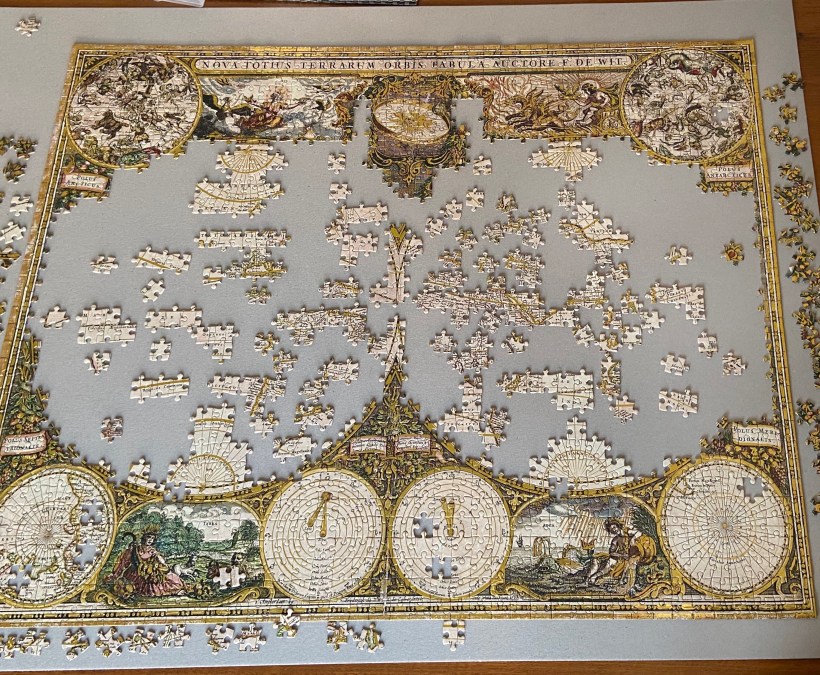
Piece by piece, though, it started to happen. It is no understatement to say that I felt a profound sense of achievement when I finished a section and could anticipate how beautiful the whole thing was going to look.
Piece by piece, it started to come together…
Doing the puzzle in honour of Helen and my father gave me purpose, but the concentration it required and the distraction from other things in life gave me a sense of mindfulness and peace that really helped me in my day to day life.
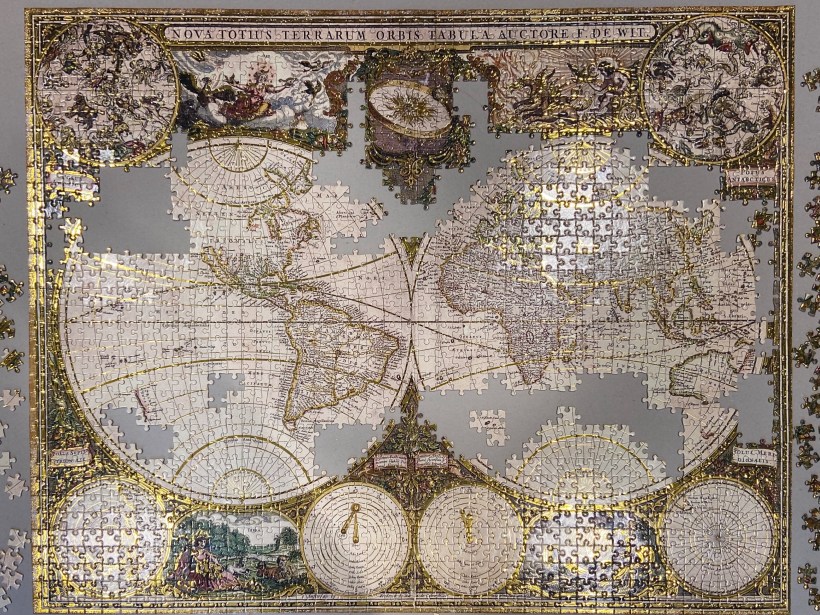
Almost there! But those last couple of hundred pieces were the hardest!
Dealing with my grief and managing tasks related to Dad’s estate were somewhat complicated by the challenges of teaching online again during Victoria’s second major Covid-19 lockdown, but working from home also gave me the space I needed to do those things and start to heal.
In many ways, that puzzle became an allegory for my own life. I was putting those pieces together too, seeing how things fit and getting an idea of how things would look. I too have intricate lines and a complex design that needs to be observed carefully in order to achieve the desired outcome. My life is full of pieces that fit together neatly, and it’s up to me to make sure I get that right.
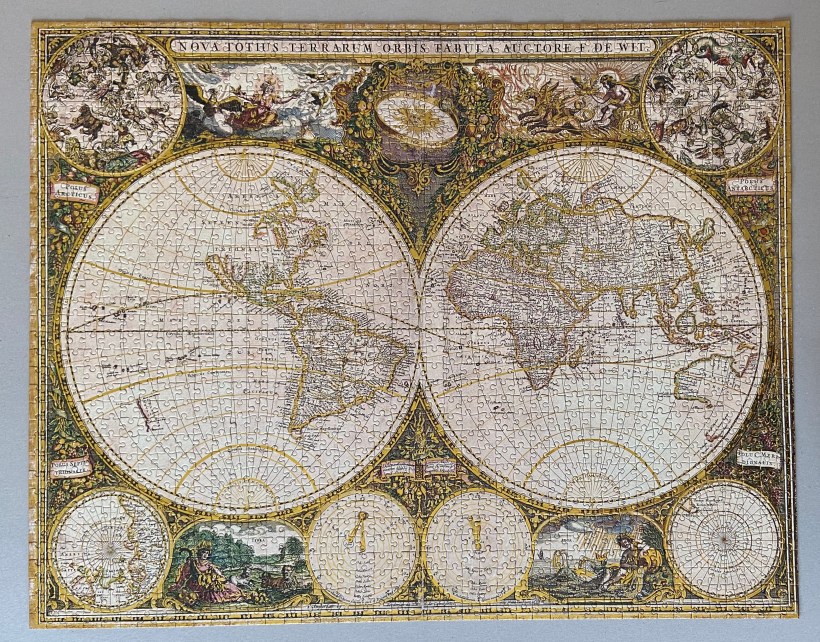
So, while the puzzle on the table is complete, the puzzle that is me is still a work in progress.
A beautiful picture indeed!
Today marks thirteen weeks since my dad graduated to heaven. Thursday marks the same interval for Helen.
Three months seemed like an appropriate goal for completing the puzzle, and I feel a deep sense of satisfaction at having done so.
This week, I will make arrangements to have it framed.
When it is hanging on my wall, it will be a daily reminder that doing life well is a process, not an event. It will remind me that every piece matters. And it will remind me of my love for Dad and for Helen, of their love for me.
I am so blessed to have known and loved them both, and to have been loved by them. The pieces they contributed to the puzzle of my life have helped to make it a thing of beauty. For that, I am very, very thankful.
I know that as the pieces of life continue falling into place and fitting back together, my grief will remain present, but it will change. It will transform to become a part of the bigger picture, while keeping its own shape and character. In time, it will be differently painful, but the picture of my life would be incomplete with out it. In its place, fitting in with the pieces that represent joy, achievement, love, and hope, it adds its own detail, texture and embellishment to the canvas.
Today’s English class was the most fun I have had in a long time. I wanted to exercise the kids’ minds and get them thinking laterally. I also wanted them to enjoy it. A lesson with a difference seemed to me a great way to start our final week of term and inject some interest into our online classroom.
I began by presenting my students with the contention that a box of chocolates is a salad.
This was not a popular suggestion.
“No it’s not!” one student said… quite defensively, I might add. “Salad is salad. Chocolate is chocolate. You can’t ruin chocolate like that!”
But, I asked, what is a salad if it’s not simply a mixture of vegetables? Chocolate comes from beans… and if you add nuts, or fruit, or herbs like peppermint, then it’s definitely a salad.
We spent quite some time redefining food, presenting the most persuasive arguments we could think of, and debating the nature of reality.
Every time it sounded like the students might be in danger of reaching a consensus, I made another suggestion.
Ice cream, on its own, may just be ice cream – but the minute you put it in a cone, or add fruit or chocolate, it’s a salad. Coffee, like chocolate, is made from beans. It’s a salad.
“No!” was the response. “Coffee is hot – it can’t be a salad.”
So then I really twisted it up.
Is coffee soup? Is cereal soup? Or is it a salad with too much dressing? According to one student, and I quote, “Soup is not what soup is.”
Is the English language a metaphorical salad? Because it’s a mixture of a whole bunch of languages, right? The flavours are all mixed, but the parts are still recognisable if you know what you’re looking at.
Is the English language a sticky weed? Or velcro? Because you know, it takes something from every other language it swipes past. Maybe it’s double sided tape…
I am not ashamed to say that I really had fun. Despite their groans and protestations, I think they did, too.
Perhaps the most satisfying moments, though, were two comments made by different students:
“You’ve just entirely ruined the English language.”
and
“These have been the most problematic fifteen minutes of my life.”
What started out as a brain tease turned into a really interesting discussion about how we use language and define things in our own ways, and often assume that everyone else understands what we’re talking about, and that everyone else agrees with us.
It’s safe to say most of them enjoyed it… but it’s also safe to say that I enjoyed it more.
I’ve mentioned here before that I enjoy a good pun. Today, to my delight, one of my students came up with a pretty good one, so I responded in kind.
It happened in history, where my students were mapping the three arenas of WWII.
Student A: Syria. Sy-ri-a. *grins* Are you…syyyyyyrias? Me: Hey, I was just dam-ask in’… Student B: That’s SO bad.
Well, we laughed hard. And then student A explained it to the rest of the class, and they laughed too.
Poor Student B, though. As Student A explained, he put his head on the table and moaned, “It’s like having my dad in the room… twice!”
Still, it it wasn’t enough to stop him from piping up a little later.
Student B: Did you know that it wasn’t just Darwin, Broome got bombed too? Me: Yes, the Japanese swept right across north-west Australia… Student A: Haha! That’s genius! Student B: No. NO. That’s awful! Me: I didn’t expect you to bristle like that. Student B: I’m leaving. *walks out of the room* Student C: Where’s B? Me: *just as B is walking back in* I made a joke and he flew off the handle. Student B: No. *walks out again*
It was a fun moment which we all enjoyed, but it also made the facts the students were working with more memorable. Once we’d had a laugh, they all just kept on working.
Opportunities like that don’t happen all the time, but when they do, they are welcome.
Humour is such good medicine, and it makes excellent social glue. It was wonderful to be able to laugh together during a week when the world seems far more uncertain and a lot less enjoyable than it did a couple of weeks ago.
I’m thankful that my students have the confidence to express themselves in my classroom, and that they do it in ways that are clever and fun. It really is a huge blessing to be able to have such great rapport with my students, and these kids make it easy to keep going to work every day.
These anecdotes were retold here with the permission of the students involved.
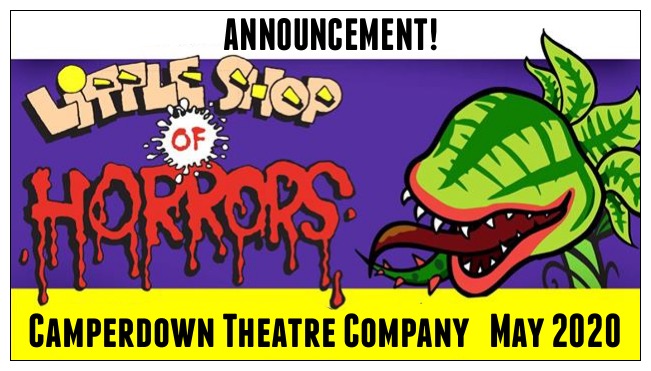
As I mentioned in my previous post, I spent the weekend with my production team, auditioning talented hopefuls who were trying out for a role in the Camperdown Theatre Company production of Little Shop of Horrors in May, 2020.
The depth and variety of talent was incredible. It took us three hours to decided on the final cast, because we had some fabulous options – but that also meant that some hard decisions had to be made, too. You can’t give everyone the lead role, after all.
When I looked at the final cast list, my first words were, “ This is going to be an absolutely killer show!” And you know what? It really is, because every one of the people the production team called last night with an offer accepted the role we offered them, even if it wasn’t the one they were hoping for.
They are all super excited, and so am I. The cast list has just been posted, and I am looking forward to the excitement and anticipation that will create in the community as well as in the theatre company.
There is a lot to do, and no time to waste, before rehearsals begin in February, but one thing is sure: It is a wonderful thing to be able to create and share this very special kind of joy and excitement that will flavour the whole six months before the show hits the stage.
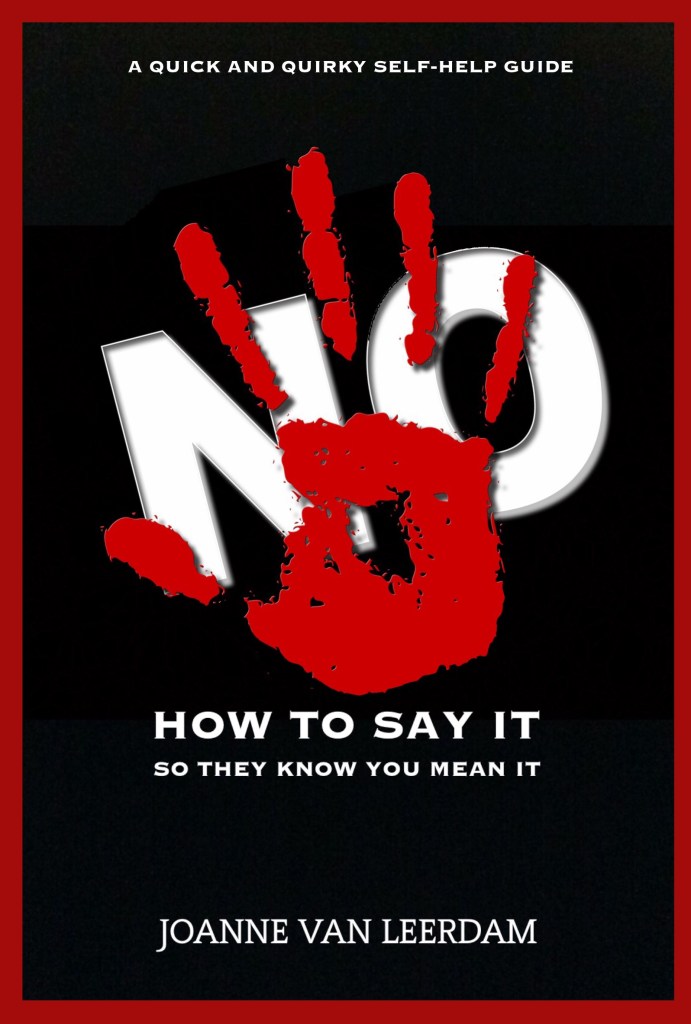
I often wonder why “Just Say No” became a catchphrase among those trying to teach kids and teens to resist poor examples, negative influences and bad habits. It’s not always that easy or so straightforward. Peer pressure, family expectations, social engineering and a desire for job security have all taught us to take the path of least resistance — which can actually be a really unhealthy thing.
Among all the different people in this world, there are two groups who invariably find each other: those who have trouble saying no, and those who take advantage of them.
You know it. I know it. And we all know which of the two groups certain friends and family members fall into.
This quick and quirky self-help guide to saying no more effectively provides insights and tips on how to say “no” so that others know you mean it, and thereby reclaim your freedom from those who would readily exploit your generosity.
If you find it hard to say no to people, but really want to… this is the book you need.